


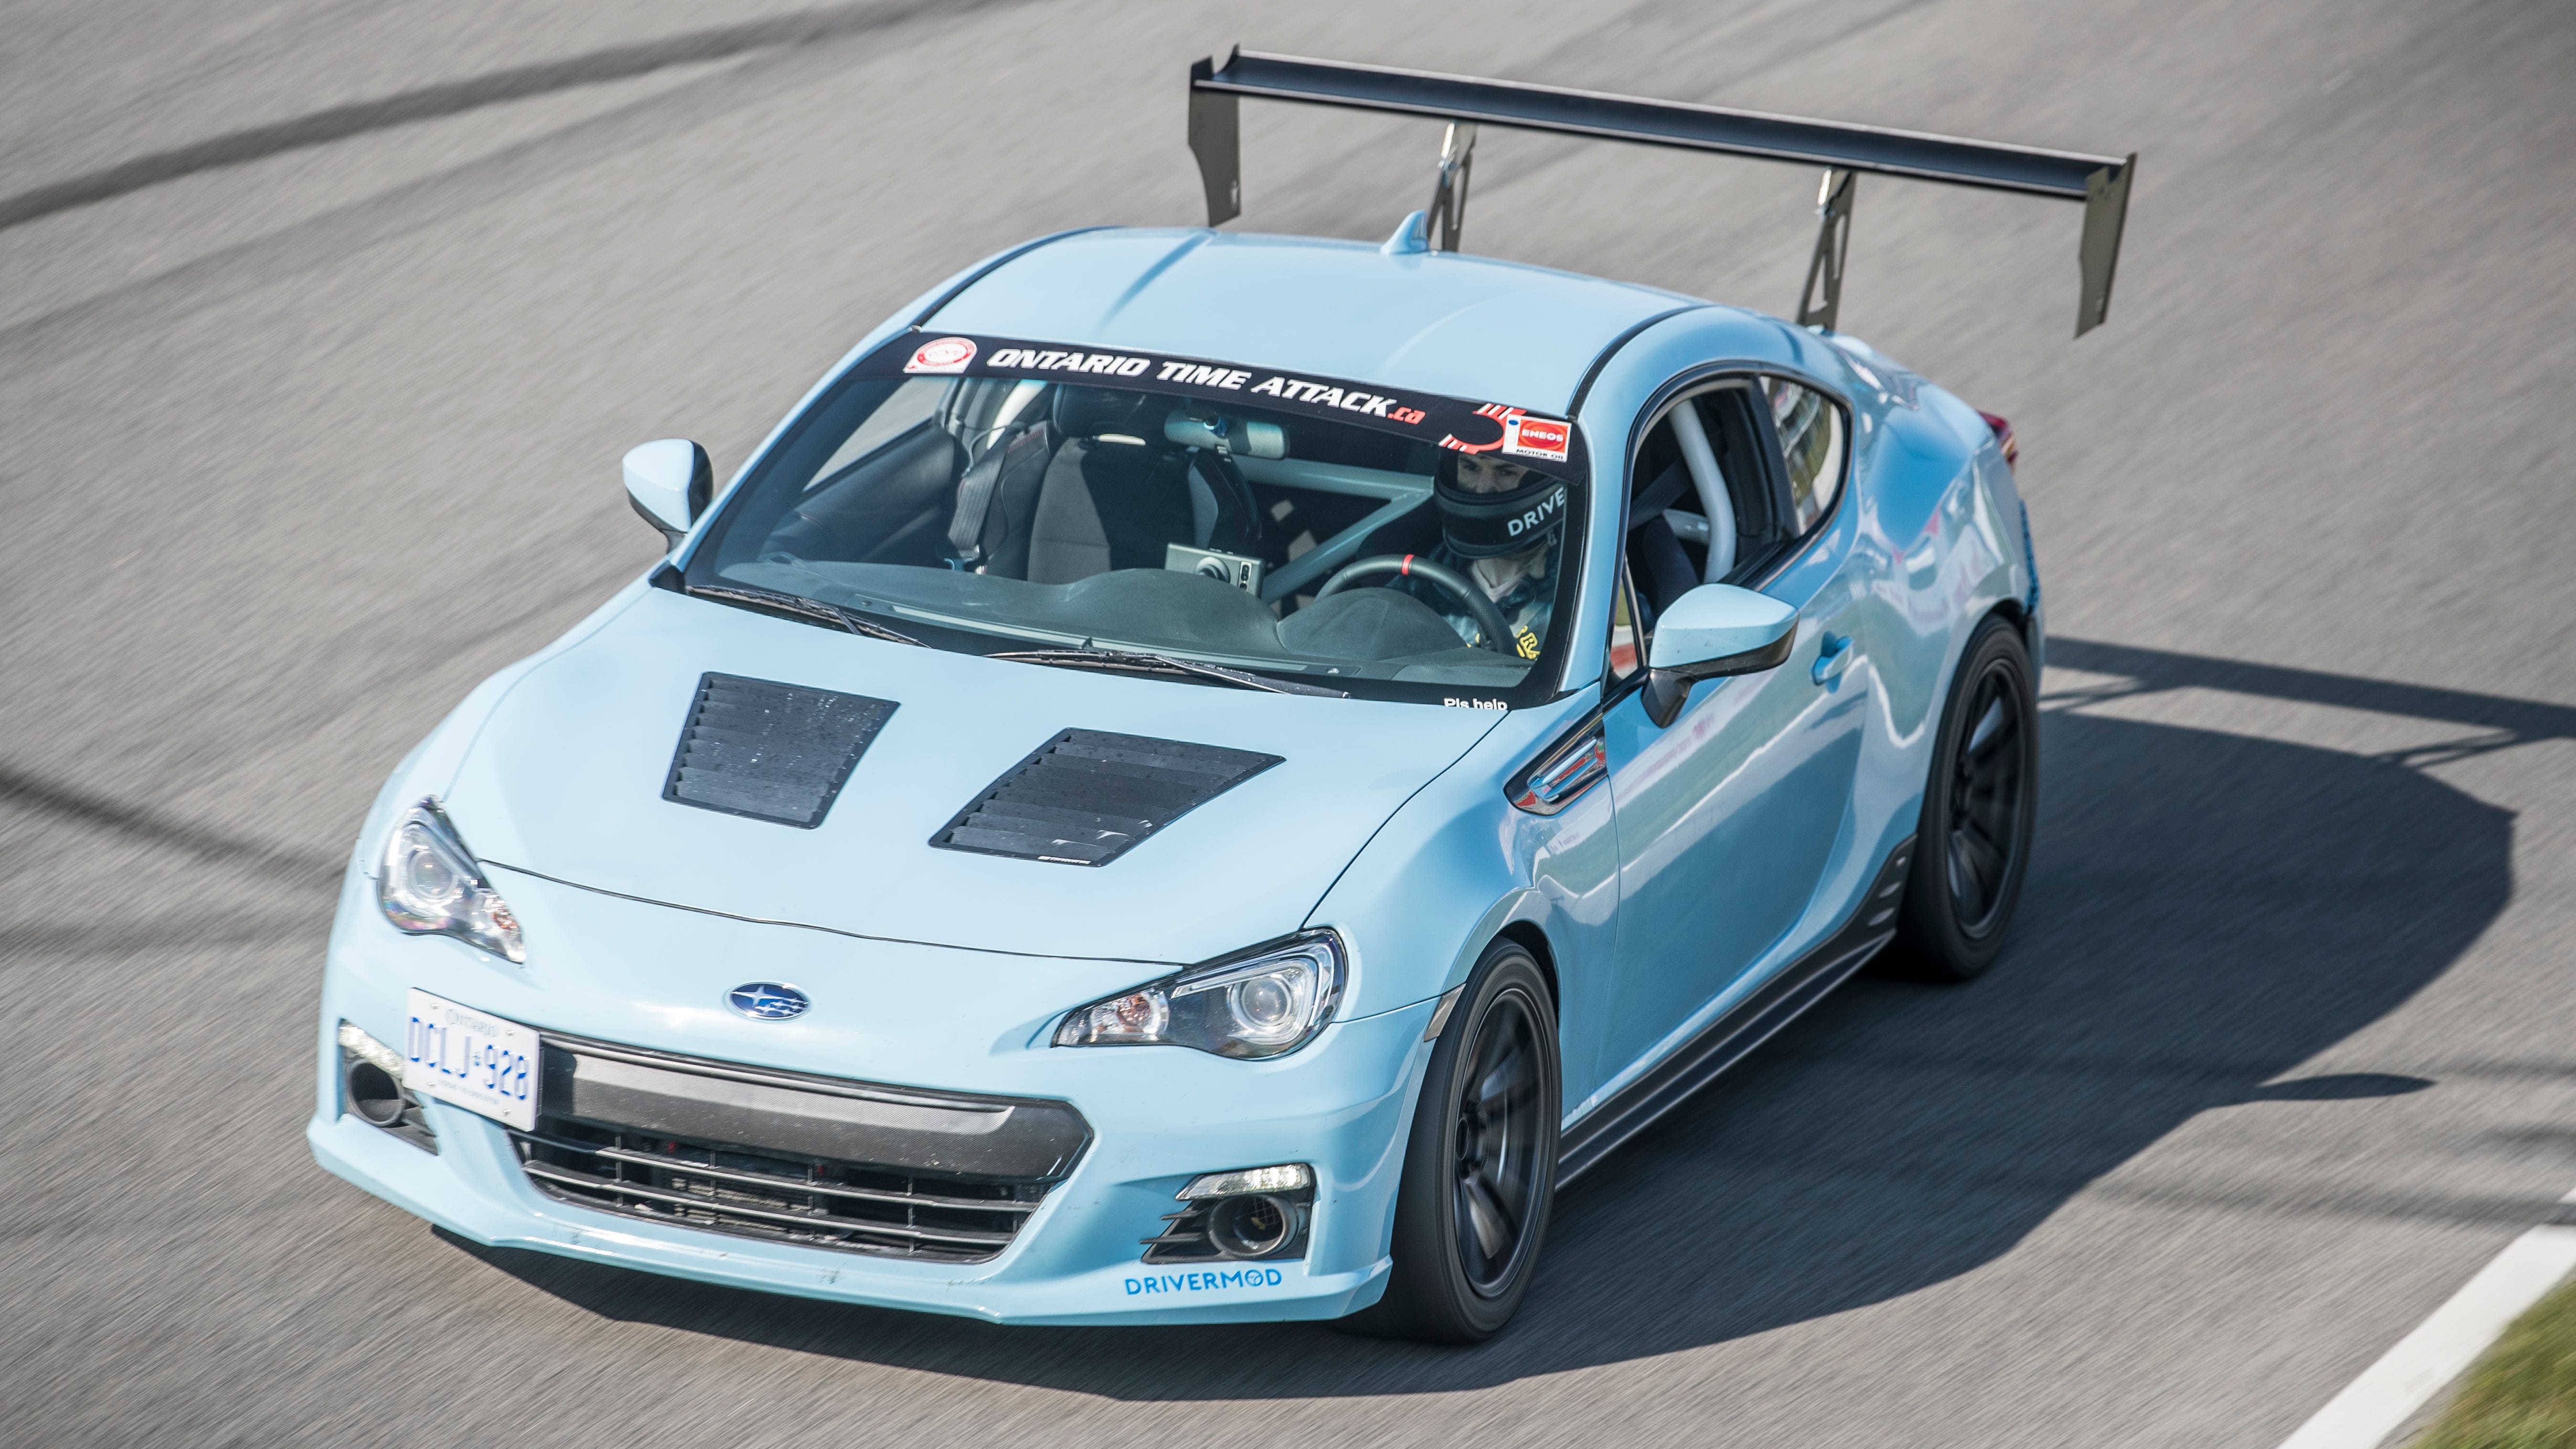
FA24 in a Gen 1 BRZ; a 4000km Update
Dyno numbers, teething issues, and the total cost

Tuning is a tricky thing. There’s expertise (the tuner), and the equipment (a dyno). Dyno shops are a dime a dozen. Expertise with your specific application is harder to find. I reached out to CounterSpaceGarage early in the project, given that they’ve been tuning FRS/BRZs since they showed up on US shores back in 2012.
Just dropping the engine in the car and sending it to a dyno shop for a tune felt bad for a few reasons. First off, there was a two-month window where I needed to move the car around on its own power throughout the process of paint and bodywork. But more importantly, strapping the car to a dyno and redlining it in its first 10 miles felt horribly abusive. So we started with street tuning. Zach from CSG sent me a base map which I loaded onto the car using an ancient window’s laptop. Once we verified the base map, I put about 800 break-in kms on the new motor and we started actually street tuning.
All of this is new to me, and I thought it would go something like this:
Street tune the car a bunch
Strap it to a dyno
Get a number
Post it on the internet
So when I showed up at A.R.T Motorsport in North York to finally tune the car on the dyno, and it made 168whp on its first pull, I questioned my entire existence. So began the process of sending logs over to Zach, getting a new tune, reflashing the car, and doing the whole thing over, and over, and over again.
I learned a lot int he process. First off, parameters like coolant and intake air temperatures (IAT) need to be kept consistent through every pull. Let IAT rise 10c, you’ll lose 10hp, and your tuner will yell at you for sending over useless logs. Coolant temps had to be kept above 92c, otherwise the safety built into the tune would start cutting power. But keeping IAT low while keeping the engine warm required some creative problem-solving: taking apart my intake and pointing a fan directly at it. It turns out that my Grimspeed intake with its metal enclosure was cooking the intake filter. I later replaced it with the stock intake.
Secondly, and this is small but important, modern traction control is a nightmare on a dyno. The BRZ’s traction control doesn’t cut throttle, or show itself on a dyno in any obvious way; it just limits throttle position. Pull after pull, we put down 155whp, only to realize that traction control had turned back on. I was kicking myself for not installing my Trac-Box (a device that permanently defeats traction/stability control), because we literally wasted an hour working around it.
Finally, dynos are funky things. Use a longer gear? WHP goes up. Switch to a shorter final drive? WHP does down. Let IATs drop 10c? WHP goes up. It’s no wonder it’s so easy for intake manufacturers to provide “dyno-verified proof” of horsepower gains. It’s unbelievably easy to produce a higher number on a dyno.
Numbers
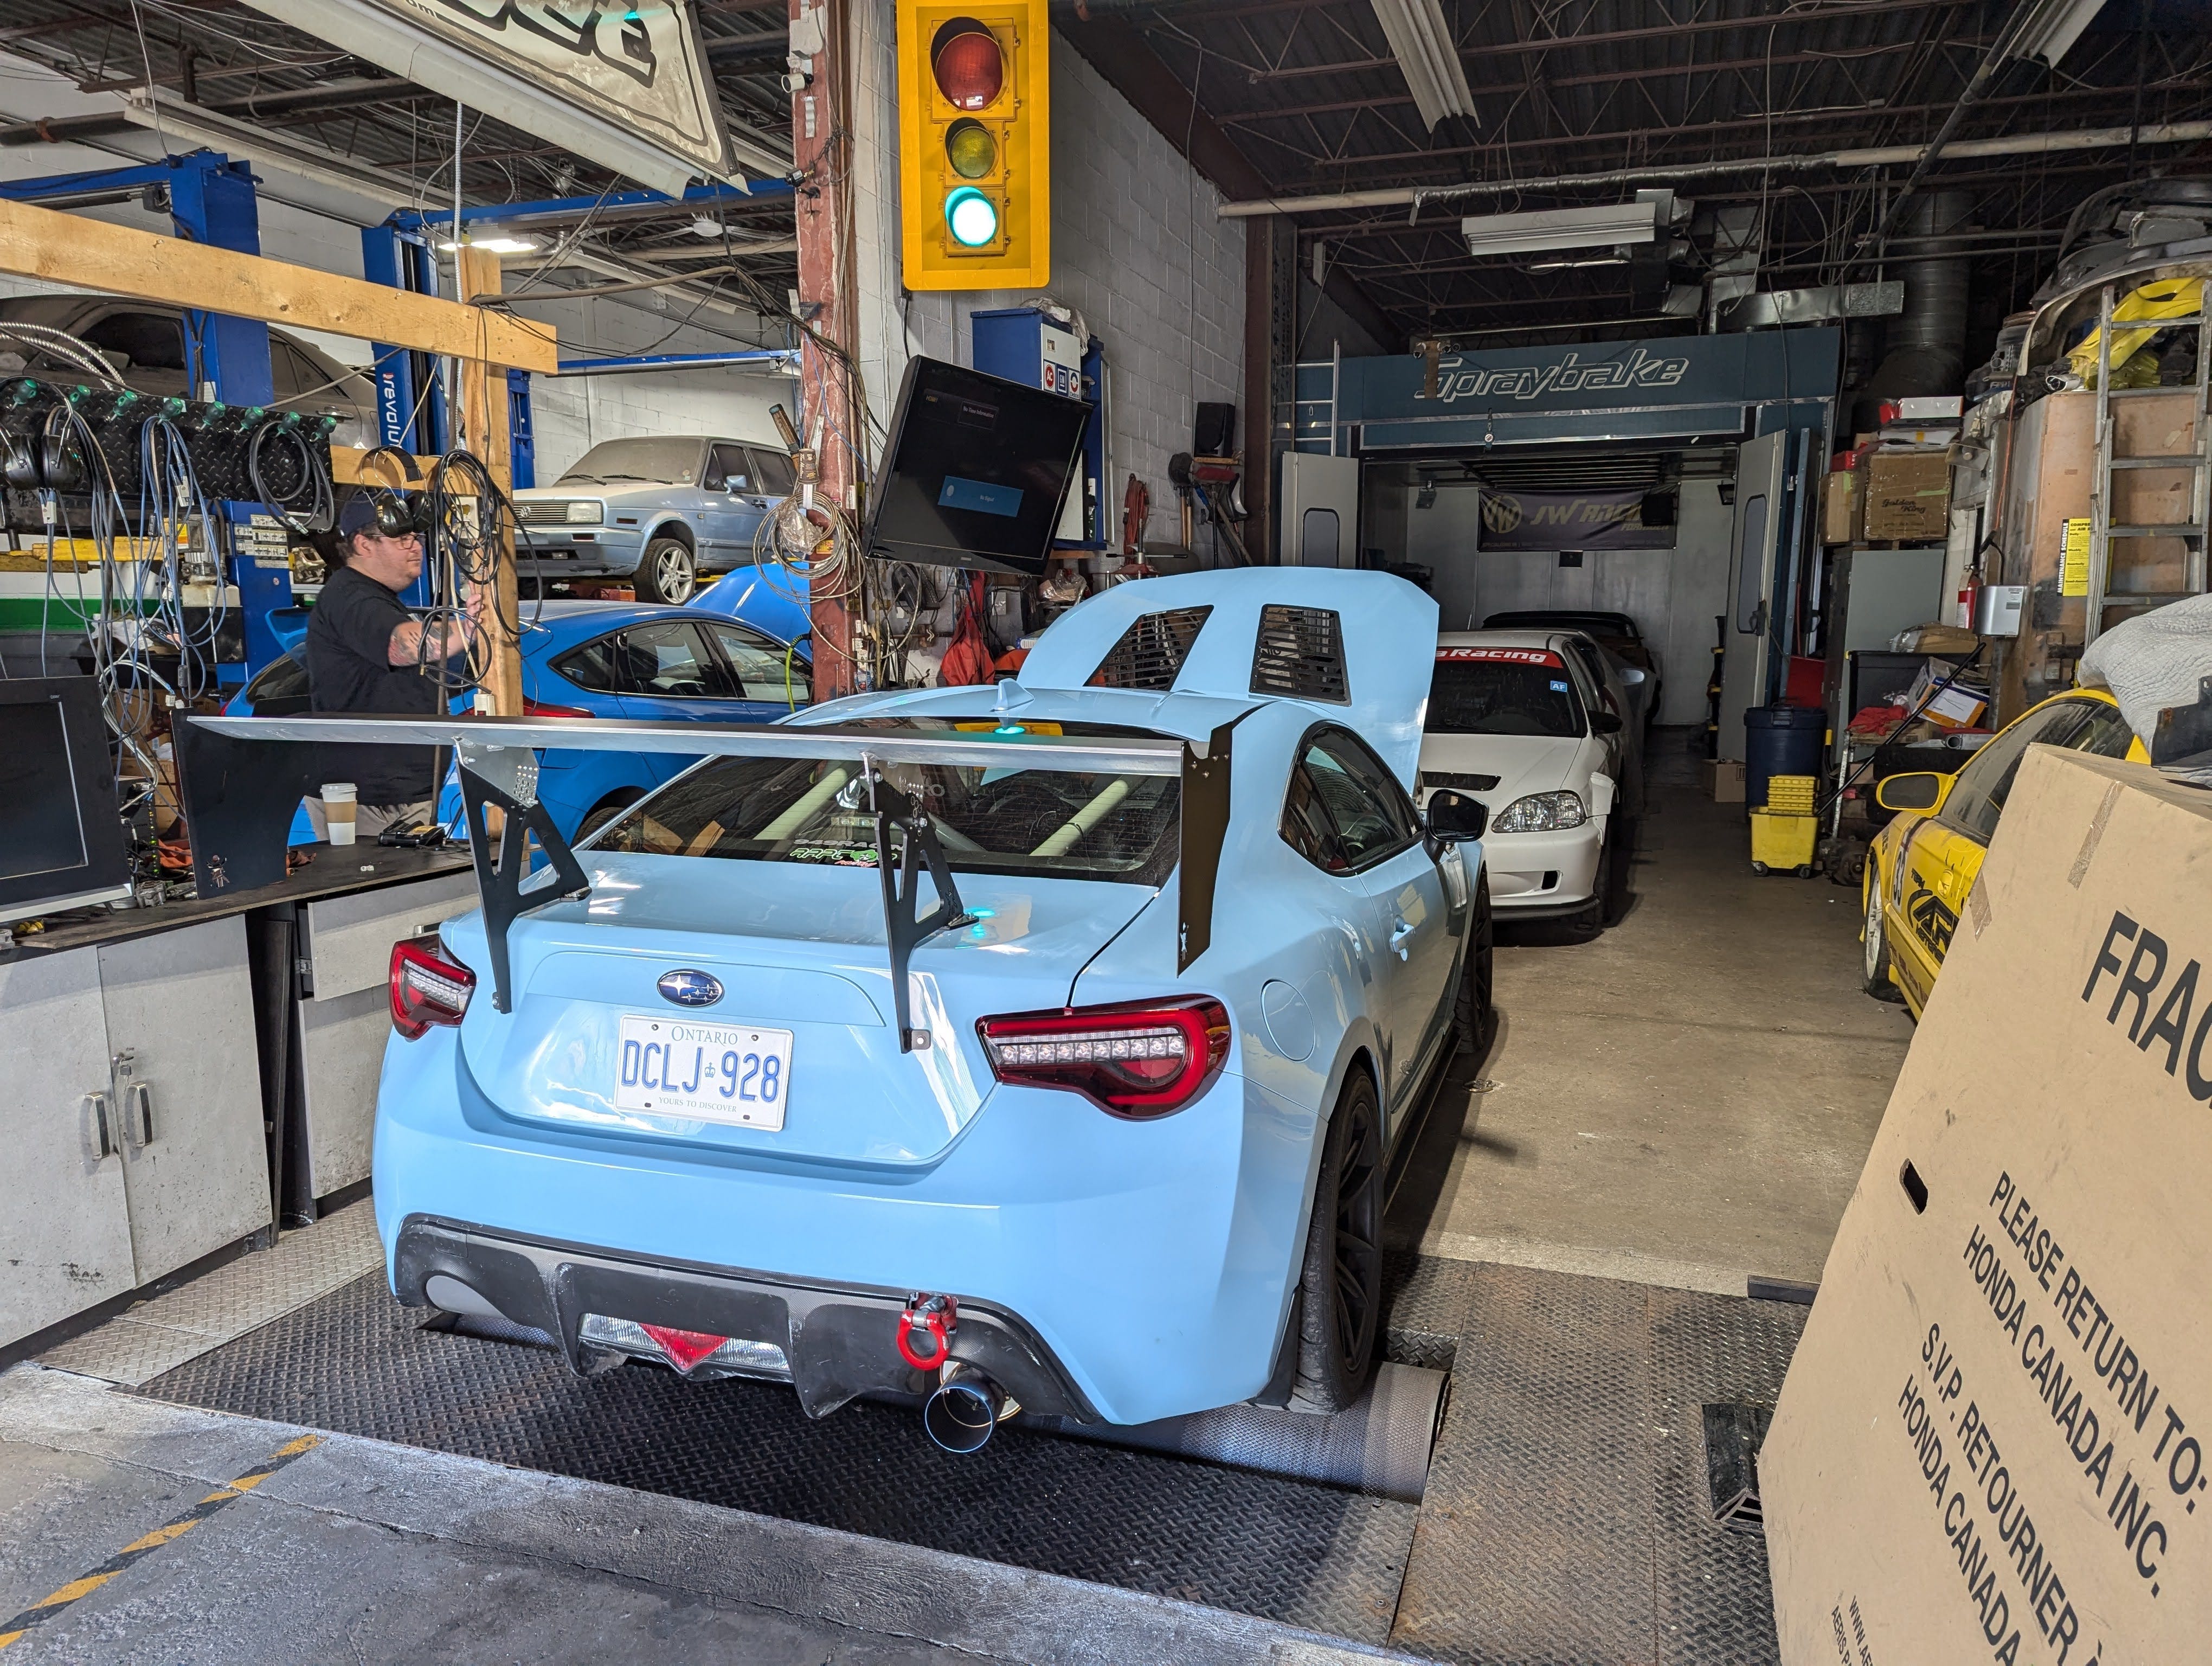
We made 202whp and 172wtq on said roller dyno. I’ve overlaid my dyno with my friend Andrew’s stock GR86 on the exact same dyno for an interesting comparison.
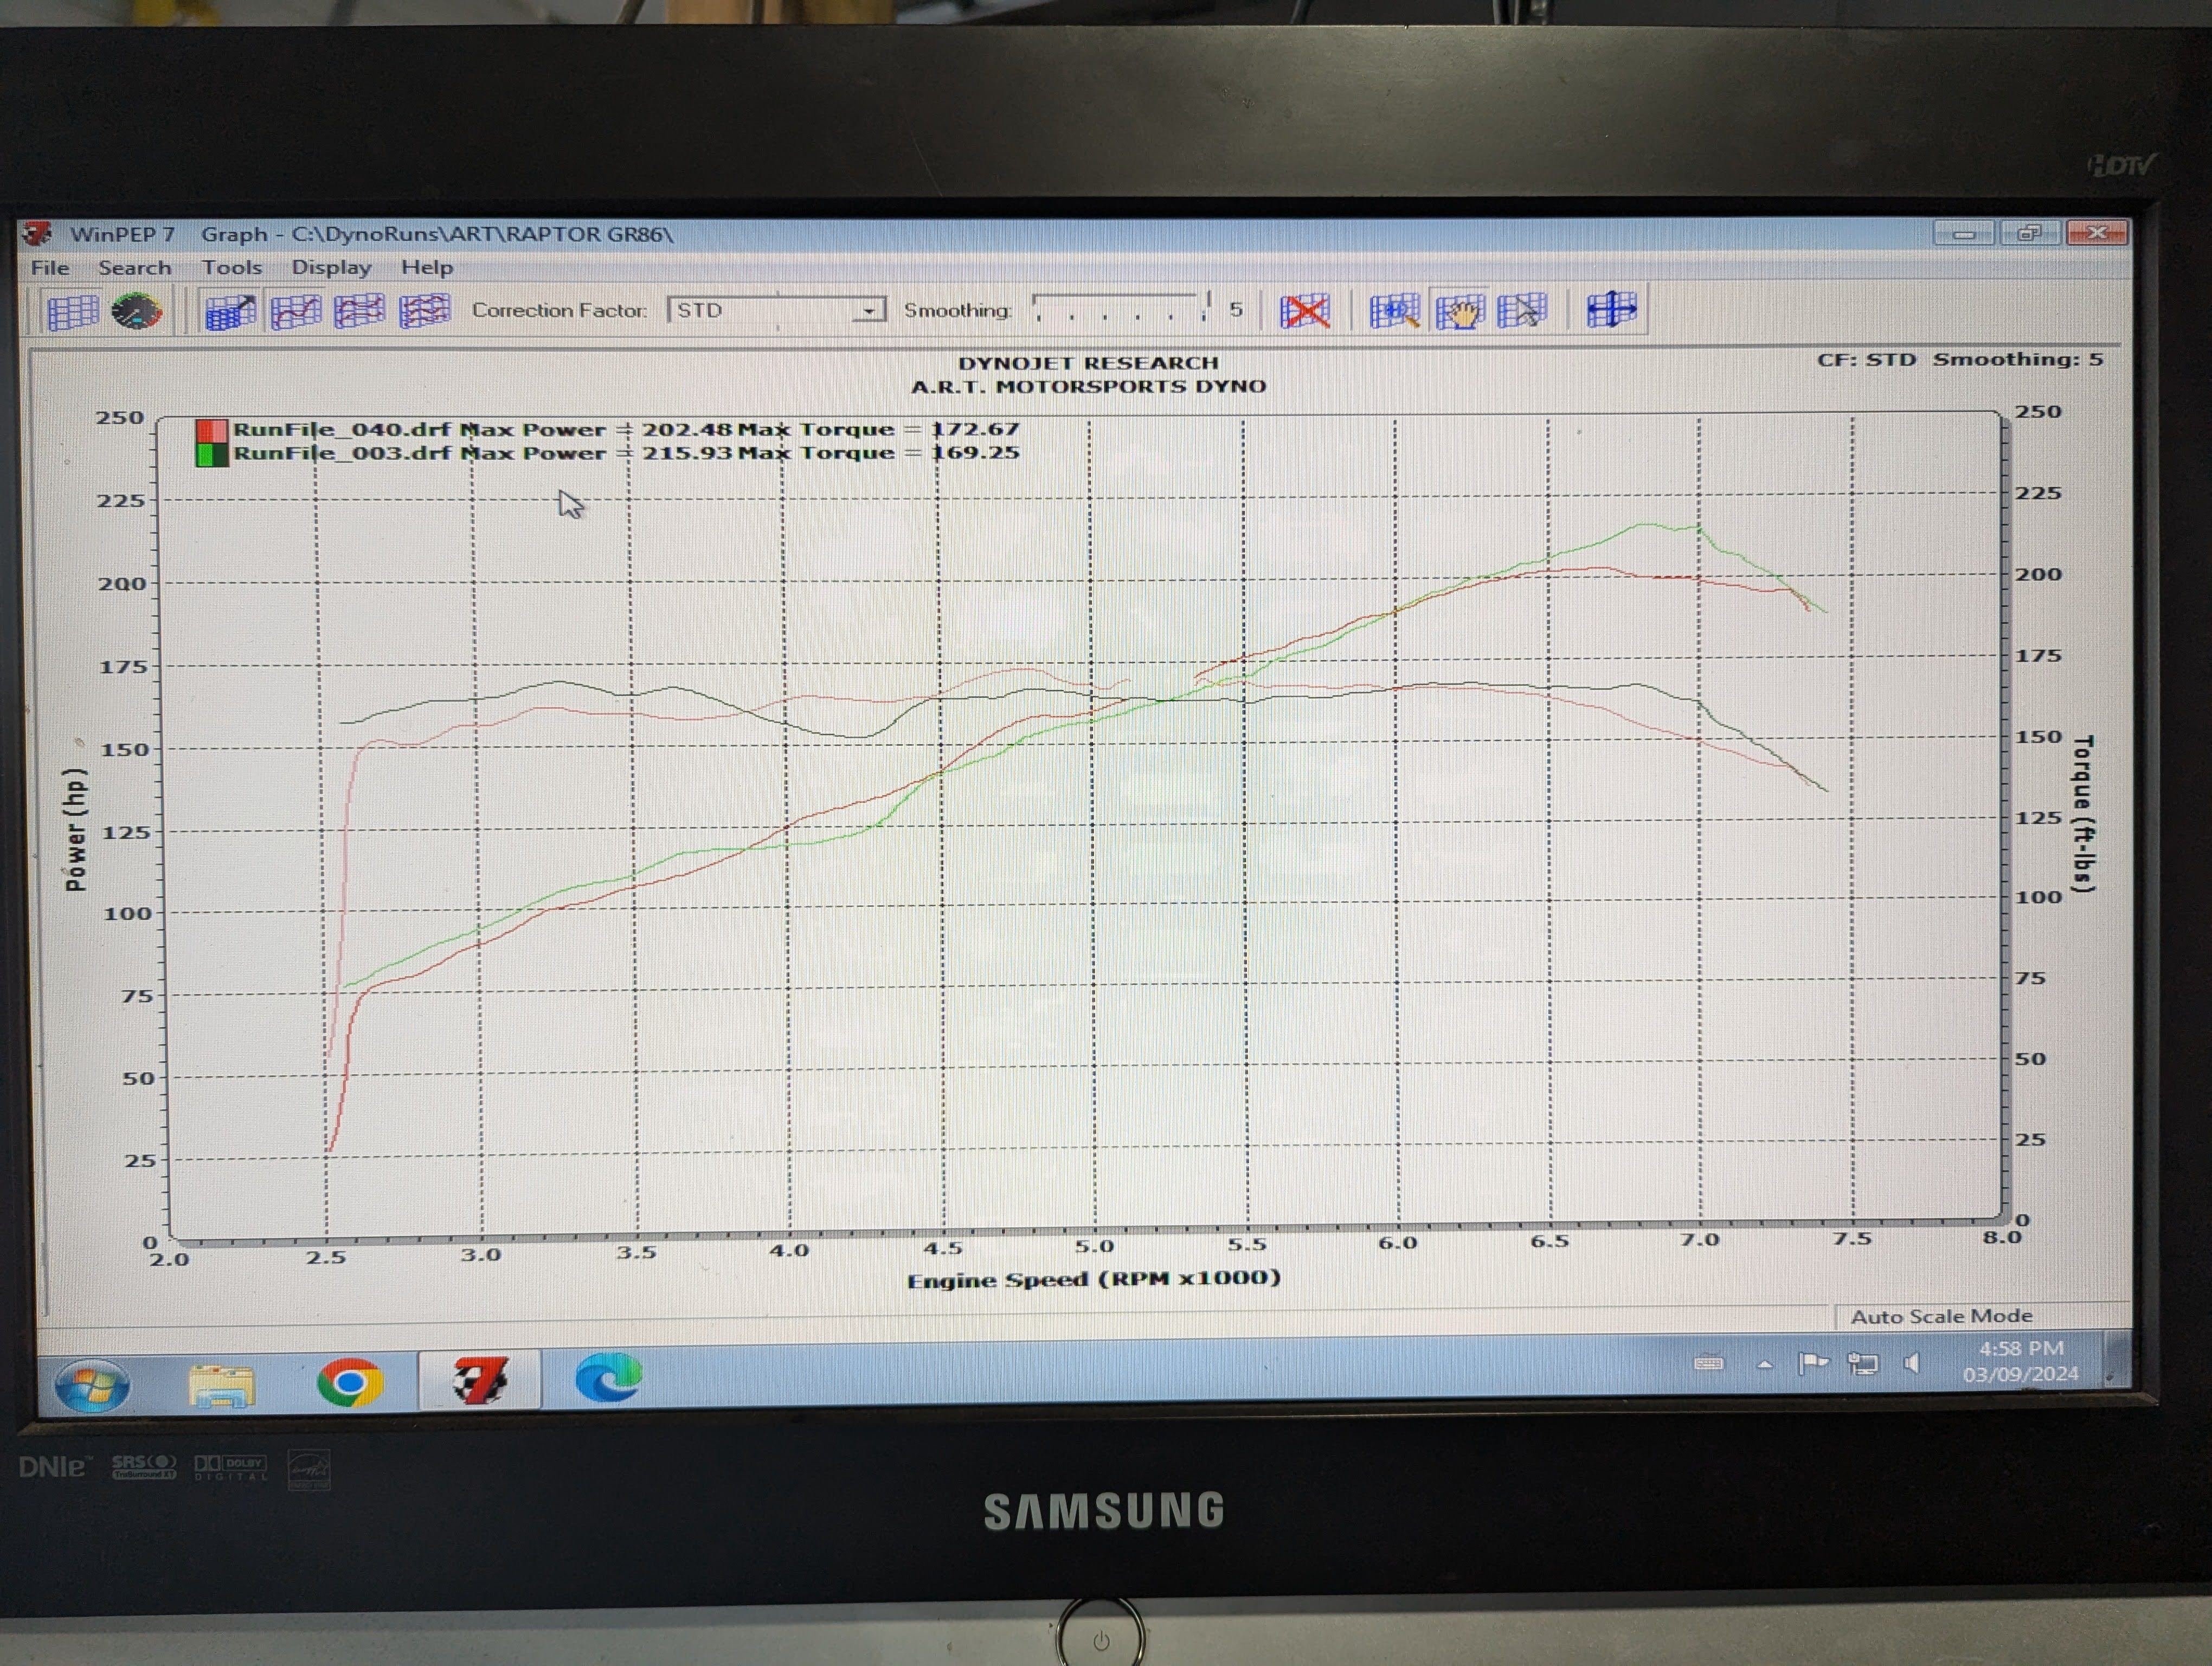
Most of this is based on the advice from Zach from CSG, but we have a few theories for the drop-off past 6,500rpm:
Allegedly, the stock FA24 exhaust header performs incredibly well - better than the Borla UEL header I have on the car
Toyota and Subaru put significant work into the FA24 intake manifold to improve flow and efficiency. I’m running an FA20 intake manifold on my car, and it’s likely restricting flow
Though we used the same dyno with the same gear (4th), my car has a 4.88 final drive, vs. the factory GR86 4.1, which will result in a slightly lower number.
All of that’s to say, swapping in a highly efficient EL header (read: Tomei, JDL, Ace) along with an FA24 intake manifold would be the next step here, but I’m not inclined to. I’ll likely get bored and optimize the car down the road, but tuning and dynoing a car is enormously expensive, never mind the cost of parts. But more importantly, the car drives incredibly well.
Driving
I used to make a lot of excuses for the FA20’s lack of low-end torque. After all, nobody complains about vtec? Why are you letting the revs fall that low anyway? What I didn’t realize was how much I was driving around that lack of torque.
The FA24 turns 2nd gear corners into 3rd gear corners. 172wtq is nothing to call home over, but it’s flat and consistent. Above 3000rpm the car never bogs. Combine that with the short gearing of a 4.88 final drive, and I genuinely believe this is a perfect first-generation BRZ.
All that shows up in lap times. Straight speeds at both the Toronto Motorsports Park and Mosport GP are 5kph higher than they were in my previous FA20 FRS on E85 fuel, and my lap times on old Falken RT660s have been identical, sometimes faster, than my old FRS on fresh Yokohoma A052s. Where my old FRS necessitated fresh A052s and E85 fuel (which if you didn’t know, is impossible to find in Ontario), to be reasonably quick, the FA24 BRZ is effortless. Show up and send it.
My only complaint, if I can muster one, is that it doesn’t carry torque all the way to redline, instead falling off after 6500rpm - which is where swapping to the aforementioned FA24 intake manifold and a more efficient header would help.
Cost
Here’s my complete cost breakdown for reference:
$ 1,660 - FA24 with spun rod bearing
$ 2,200 - Rebuild parts (crank, bearings, head gaskets and seals, connecting rods and piston rings)
$1,400 - GSC exhaust and intake valves, valve stem seals and valve springs + assembly
$1,200 - Custom engine mounts
$300 - Machining of heads and block.
$1,700 - Misc rebuild parts (timing chains, tensioners, pulleys, fuel injector cleaning and seal replacement), spark plugs, ARP head studs, and exhaust gaskets.
$2300 - Tune + Dyno time
Total: ~$10,600 CAD
Problems


Since putting the car together, I’ve had a total of three issues.
First - and completely unrelated to the swap - I snapped an axle during my first track session on Mosport’s DDT course. As it turns out, buying an ex-drift car and re-using its axles isn’t the wisest choice.
With that fixed, I discovered that the car would overheat quickly; after just four laps. There were with two culprits. The car didn’t have its OE radiator ducting. Without that, air could enter the grill and flow underneath the car without going through the radiator. But also, the second-generation BRZ has a 25mm thick radiator over the first-generation’s 16mm radiator. I decided to tackle both; I purchased a new plastic radiator shrouding along with a CSF radiator, and my cooling issues vanished.
My only real swap-related issue? The car had a habit of eating serpentine belts. My first serpentine belt only lasted around 1000 kms before coming apart. The second belt lasted less than 500 kms. The culprit? A misaligned alternator pulley. You can’t exactly slap an FA20 alternator onto an FA24; the pulley angle won’t match the rest of the pulleys.
To solve this, I measured the angle of the alternator pulley using a cheap camber gauge and compared it to the crank pulley. From there, I ground down the back of the alternator pulley bracket using an angle grinder until the alternator’s angle matched the crank pulley, and reinstalled everything. The easy solution? Buy an FA24 alternator if you’re planning on doing this swap.
Final Thoughts
Being an early adopter of this swap has been one of the most satisfying automotive journeys I’ve ever been a part of - even more so because it actually worked. Around the time I posted my initial write-up, a lot of new information on swapping FA24’s into Gen 1 cars.
As it turns out, getting an FA24 into a 2017-2021 car is remarkbably easy; there is already a plug-in-play kit by a company called Hachi Electronics that literally involves just a handful of sensors. That same company is working on a 2013-2016 kit that leverages a custom reluctor wheel and custom sensor bracket, solving the crank-position-sensor problem without needing to carve a chunk out of the block. If you’re looking into swapping a complete FA24 into a Gen 1 FRS or BRZ, I would contact these folks and follow their playbook.
However, there is the problem of cost; a complete, used FA24 will run you around $7000-$8000. A new FA24 short block directly from my local Toyota dealer is listed for $4,388.35 plus tax. It’s also (according to Zach from CSG) significantly easier to manage fuel pressure when using a factory FA20 fuel pump, compared with trying to manage the FA24’s high-pressure fuel pump with an FA20 ECU.
All of that comes with massive caveats; the CNCing of the cylinder heads, solving the crank position sensor spacing issues, and fabricating custom engine mounts.
This comes down to your access to a skilled CNC operator, and your willingness to build an engine. This approach makes sense if you’re sitting on a Gen 1 car with a spun rod bearing, and you’re willing and able to put the work in. But if you’re starting with a shell, and would rather not take your chances with assembling a Subaru engine, there are simpler options out there.
Mistakes I made? Installing larger intake valves and GSC valve springs was arguably a waste of money. I wanted to replace the valve springs given that I started with a mystery 2013 engine (the year with the infamous valve spring failure) and the rest was a product of “while I’m in there”. But there’s zero point in revving the engine past its stock 7500rpm redline (power falls off past 6700rpm), nor is there any evidence that larger intake valves are doing me any good.

Building my FA24 shortblock myself out of an engine with a spun rod bearing was also a questionable choice. So far - all is well. The car’s been reliable thus far, and doing so saved me around $1000. But doing so introduces an enormous amount of uncertainty. Time will tell.
Was it worth it? Yep. This swap checked off all the boxes for me; OE reliability, a naturally aspirated bump in power and torque, without doing any wiring. Was it cheap? Nope. Building a fresh engine rarely is, but a lot of the cost incurred resulted from experimenting.
Was it easy? Kinda. I commented on how happy I was that my handbuilt motor was holding together, while on the dyno at A.R.T Motorsports, and Pat (the owner) quipped back “you didn’t build a motor, you just slapped OE parts together!”. He’s right. I just bought a bunch of engine parts from Toyota that were designed to work together and put the engine together. Sure, I used plastigauge to check bearing clearance, but this was less like art and more like lego. Hell, I could have taken things a step further and bought the block assembled from Subaru. Sure, Subaru engines are far from simple, but a service manual and a steady application or RTV will go a long way.
All of that’s to say, if I can manage this, so can you. God speed.
Still want to learn more about the car? Check out this video by my friend Jason over at Driver’s Paddock: